#91 October Status Report
October 13, 2014
This month’s report will again be in two parts: the first is a quick update on the foundry which was the subject of last month’s report; the second is a report on the completion of the lighting upgrade of the major Middle City buildings.
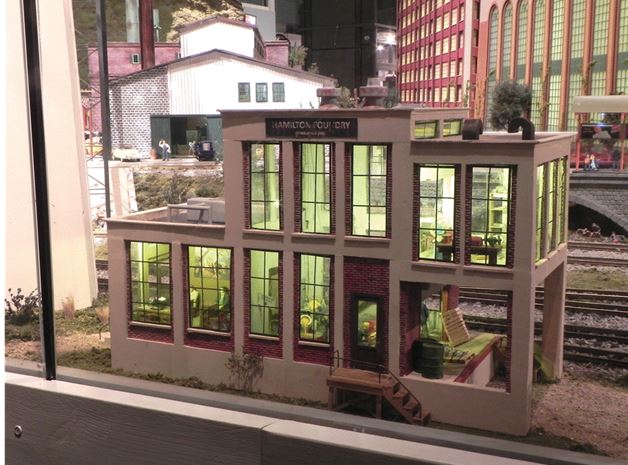
The Hamilton Foundry has found its rightful place on the EnterTRAINment Junction (EJ) layout across the tracks from the Middle City Power House (Figure 1). This is just to the left as visitors enter the Middle Period through the tunnel from the Early Period. Fortunately there was sufficient real estate available to allow the foundry to be placed very close to the aisle, where visitors will be able to easily see and appreciate the wealth of detail incorporated into this model.

Figure 1. The Hamilton Foundry on Location
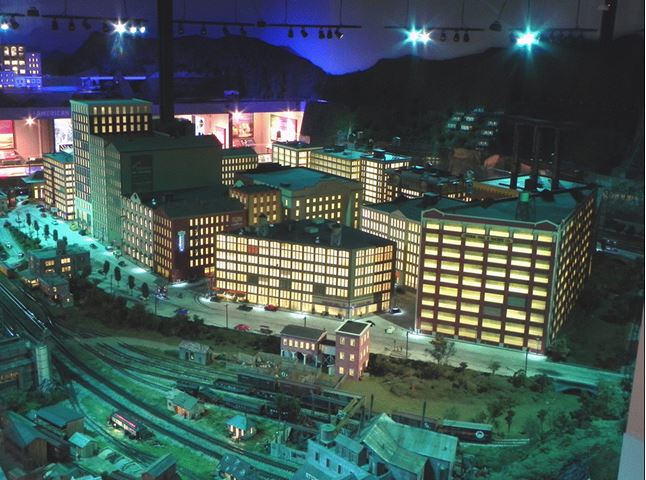
I’m happy to report that the lighting upgrade of the major buildings in the Middle City is complete. This is to the great relief of the volunteers who have spent many hours crawling around on hands and knees under the layout to get access to the sometimes very compact interiors of the buildings needing the new lighting. Figure 2 provides an overview, seen from the Mezzanine near the elevator. Some of the details of the project have been reported previously in Parts 81, 82, 86, and 87 in this series of reports.

Figure 2. Middle City Lit Up
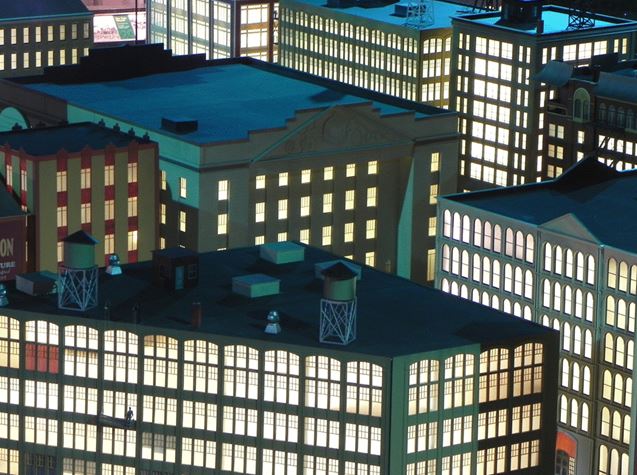
The MVGRS volunteers who worked on the lighting upgrade project had some favorites and some major challenges. The hands-down favorite was the Courthouse (shown in the center of Figure 3). It had four large openings in its floor, each large enough to allow a volunteers to stand up through each of the openings to work on the interior. The inside of the roof was low enough so it could be easily reached by standing on a step stool. And finally, there was ample structure available inside for mounting the light bars and reflective curtains using very simple techniques. The sad part about this beautiful building is that it’s visible only in part (and never in its entirety) from locations accessible to EJ visitors. The largest portion that can be seen is shown in Figure 3, viewed from the Mezzanine near the elevator.

Figure 3 The Courthouse and Surroundings
The most challenging building was the last one completed. It’s the building surrounding one of the 8-inch I-beam columns that support the EJ roof (the column appears as the dark rectangle at the top of Figure 4). It had no lighting in it prior to this installation and was almost left to represent a vacant derelict. However, tempted by the challenge of this last task in the project, the volunteers proceeded. The major problem was the small access hole in the floor, much of which was occupied by the column. The column also blocked access all the way to the top of the building. The volunteers had to use “ship-in-a-bottle” techniques to mount the lights and reflective curtains, setting and attaching supports for the lighting and reflective curtain using a long two-part pole and special fittings on the supports. The primary emphasis in this building was to light the windows on the one wall which was fully visible to EJ visitors. It’s shown in Figure 4, after completion of the lighting installation. The only other wall that’s visible to visitor (partially) is the one on the right side of the building in the view in Figure 4. Because of the limited access created by the column, no reflective curtain was installed there, resulting in much dimmer lighting for that wall.

Figure 4. The Column Building
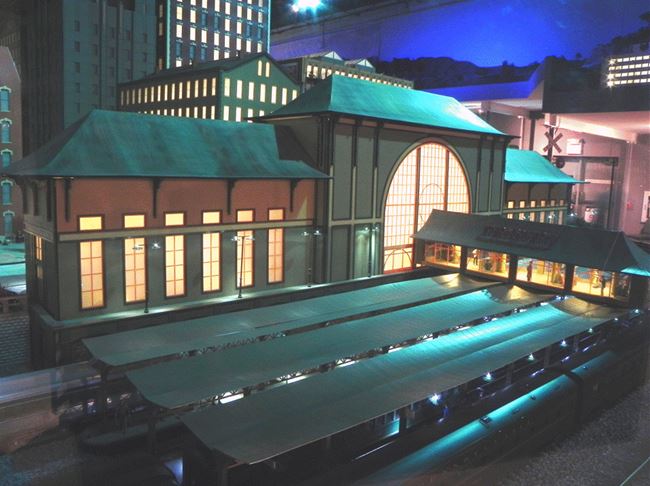
Another candidate for the most difficult installation was Union Station. It had no interior lighting in the main concourse and its two wings prior to this installation, a source of some consternation to the volunteers, because of the lack of realism which that darkness represented. There was absolutely no access to the interior of the building without removing the entire building from the layout, which would have risked doing considerable damage to it and its surroundings. To the rescue came a one-inch spade drill bit, a flexible snake video inspection device, and some bendable wire. With these, the volunteers were able to get views of the inside and get the needed reference measurements to allow them to select the appropriate locations for the installation of vertical light bars. Holes had to be drilled from underneath through two separate layers of layout table structure, representing the difference in height between track level (the lower table) and street level (the upper table). Fortunately, this structure also made it easy to mount the light bars, which were simply attached to the lower table with a screw through the bar into the edge of the hole in the lower table’s plywood. By increasing the density of the LEDs on the light bars, there was enough light reflected from the interior of the building that no reflective curtain was needed. Once the holes were drilled in the right places, the installation of the light bars was a snap. Figure 5 shows the results on the street side of the building, shown in layout’s daylight lighting mode.

Figure 5. Union Station
And, Figure 6 shows the long-awaited lighting in operation on the track side, this time during the layout’s dusk lighting mode.

Figure 6. Union Station with Interior Lights
With this project completed, the intrepid MVGRS volunteers will turn their attention to other needed enhancements, hopefully requiring a lot less crawling under the layout.
© 2014 Tom Bartsch
MVGRS Big Train Project Coordinator

 Tickets
 Parties
 Shop
Shop Directions