
 Tickets
 Parties
 Shop
Shop Directions
Figure 6. Human-Assisted Mounting
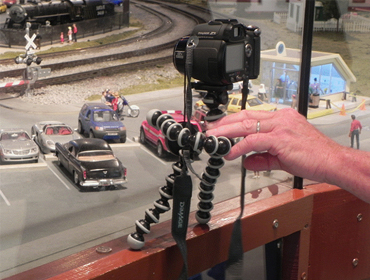
< Home #67 October Status Report October 28, 2012 Figure 6. Human-Assisted Mounting
Our highest mountain on display is over 16 feet tall.
Our Train Journey uses 1,968 gallons of scenic colored dirt and grasses costing over $26,000
Our mountains are carved out of 58,000 square feet of spray foam!
We have over 2 miles of G track with 1 mile hidden inside mountains.
There are over 100 scratch built bridges and trestles modeled after real-life structures.
Over 130 talented craftsmen volunteered over 200,000 man-hours to create our display.
EnterTRAINment Junction was conceived in 2003, train construction began in June of 2007 and opened for business in August of 2008.
The entire display is built to be historically accurate showing railroads in 3 distinct time periods.
Opening for business in August 2008, we’ve continuously added more to layouts each month.
Over 1,800 gallons of water is used with 3 storage tanks for waterfalls and rivers.
The control panels that operate each track have over 20,000 solder joints with 8,000 lines of programming to operate multiple trains on the same track.
The walkway through our exhibit is 850 feet long.
Our train display is 25,000 sq. ft. – about ½ of a football field.
Each tunnel leads you into a new time period through your journey.
Our scale is ½” = 1 ft. So, a 6 ft person in life is modeled as a 3” person in our display.
We have hidden 10 dinosaurs in our display – can you find them all?
All of our volunteers leave a personal touch on the items they work on – you can even see a photo of some in their buildings!
The seats in our museum are from Dayton train station from 1900.
We’ve had visitors from all 50 states and 37 countries!
We recently added a Bates Motel to our display – have you spotted it yet?
The tilt in our tilt room is 25 degrees.
During construction, we had to dig into the ground to build the Ames Room.
When you take a picture with flash on a camera of the steamboat, you’ll hear thunder after like it was a flash of lightning.
During your journey, we simulate night and day with 15 minutes of daytime followed by 5 minutes of night.
The switchback line has 2 trains. The one going up the hill has no logs and the train going downhill are fully loaded with logs.
The Coney Island amusement park display is a replica of Cincinnati’s Coney Island as it looked in 1965 – complete with working rides.