
 Tickets
 Parties
 Shop
Shop Directions
#148 November Status Report
November 24, 2019
This month’s report describes the finishing work done on the lower tram station access stairs and roadway. Also, I’ll share some lessons we learned during assembly of both of these items.
Figure 1 shows the assembled stairway with the lights installed. The objective was to make this item a single unit that could be moved as such onto to the layout, positioned onto its final location, and have no further assembly other than plugging in the light poles and running the pair wire leads from the back of the unit through a hole in the layout table for connection to the power source below it.
 |
| Figure 1. Tram Station Access Stairway |
Figure 2 is another view of the stairway, this time with the lights lit (note the resulting yellow highlights on the retaining walls and steps; the shadows are from the overhead lights in the workshop).
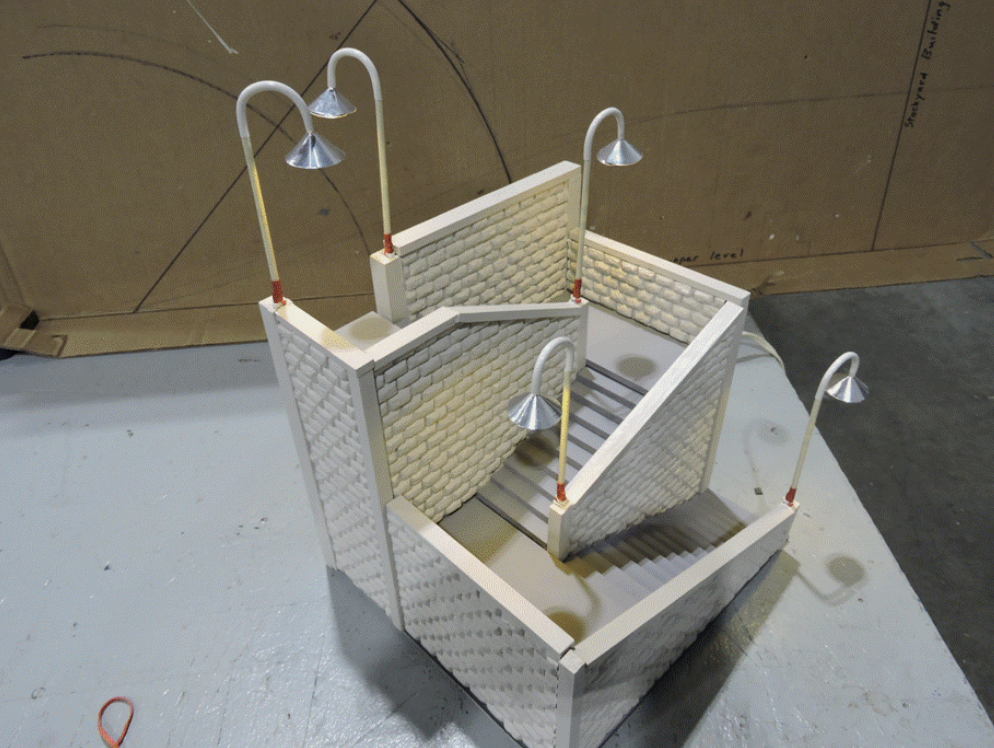 |
| Figure 2. Tram Station Access Stairway Lit |
The assembly of this unit required a remarkable variety of fastening techniques and products. Figure 3 shows the ones used for the stairway.
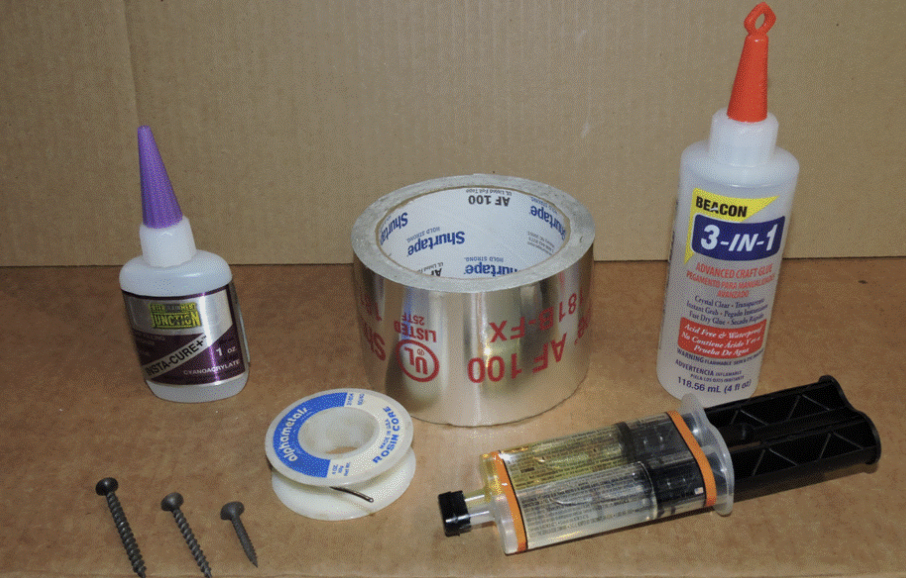 |
| Figure 3. Fastening Products |
As described in Report Number 147, aluminum tape was used to hold the conical light shades in their conical shape. Soldering was used on the lights, not only for electrical connection, but also as the structural connection between the solid wire sections holding the shape of the light support poles and between the solid wire and the plug at the base of the light pole.
A number of different types of adhesives were needed to address compatibility problems between the adhesives and the materials to be glued. We found no glue that would reliably connect flat surfaces of the individual steps. We used medium viscosity super glue (cyanoacrylate) as a temporary bonding agent, but ultimately screwed the steps together and to the base using appropriate-length drywall screws. The screws were counter-sunk into the first step below each landing, if screwed together from the top, or countersunk into the base, if screwed together from the bottom. We accepted the weaker connection provided by the super glue for attaching the landings in order to cover the screw heads from the top and so avoided an unsightly screw-hole in the landings’ surfaces. Interestingly, the edges of the step material readily accepts the super glue, and so super glue could be used to attach parts to the sides and backs of the stair stacks.
The outer flat surfaces of the ½-inch Gatorboard ®, which formed the structure for the retaining walls, readily accept super glue and the Beacon 3-in-1™ viscous adhesive, but the exposed foam on the cut edges of the Gatorboard ® does not. The solvents in these adhesives dissolve the interior foam, leaving a depression where the glue was applied, and result in less surface for making a good bond. To get around that problem, 5-minute epoxy was used on most locations where gap-filling glue was needed on the edges of the Gatorboard®, like the retaining wall caps and vertical posts. Epoxy does not attack the foam. The gap-filling characteristics of the epoxy were also useful for encasing the sockets used for the lights. The outer shells for the sockets are made of the same kind of plastic as that used for the glue bottles, a material that the glue does not readily adhere to, so the shells needed to be solidly encased.
Gluing the vacuum-formed concrete-block facing onto the Gatorboard® retaining walls of both the stairway and the access road required using the gap-filling characteristics of the 3-in1 adhesive. Unfortunately, this glue does not harden as quickly as either the super glue or the epoxy and the parts needed to be clamped flat onto the Gatorboard ® for at least an hour (but better for 24 hours) to prevent curling of the facing, which reacts somewhat with the glue’s solvent. However, this glue is better for adhering the peaked back of the block facing to the flat Gatorboard ® and it is more convenient to spread over a large area than the two-part mixture of the epoxy. Figure 4 shows the roadway with its segmented-wall for the road’s curve and its declining-height segments following the smooth transition of the road’s slope for its straight section.
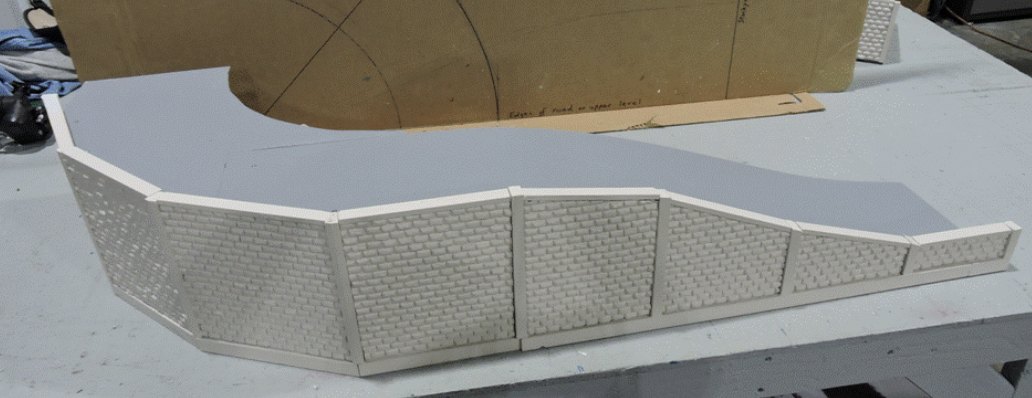 |
| Figure 4. Lower Tram Station Access Road with Its Retaining Wall |
There are many challenges in assembling scale models with connecting materials. Both common hobby materials and unconventional materials have different surface characteristics that affect the performance of glues used to connect them. Soldering works well on copper-based alloys and ordinary steels, but not on aluminum or stainless steel. The primary lesson is: if you’re unfamiliar with the compatibility of the materials you want to use, do some test assemblies and attempted destruction of the joint using samples of the materials to determine whether the chosen connecting method will meet your needs. The alternative may be a failure which will require a future repair which is much more problematic than doing it right in the first place. That’s a lesson we old guys have learned, and often re-learned.
© 2019 Tom Bartsch
MVGRS Big Train Project Coordinator